Custom Strap Installation
General Tools and Materials:
Click Here to Download a Printable PDF Version-
 Beam Strap
-
 Loctite® PL® Premium® 3X Construction Adhesive
-
 Caulk Gun
-
 Caulk or Permanent Marker
-
 Screw Gun / Drill Driver & Bits
-
 Drywall Screws
-
 Utility Knife
-
 Ladder
-
 Clean Cloth
-
 Tape
Measure
-
 Pencil
-
 Safety
Glasses
Directions

Step 1
Find the Center of the Strap
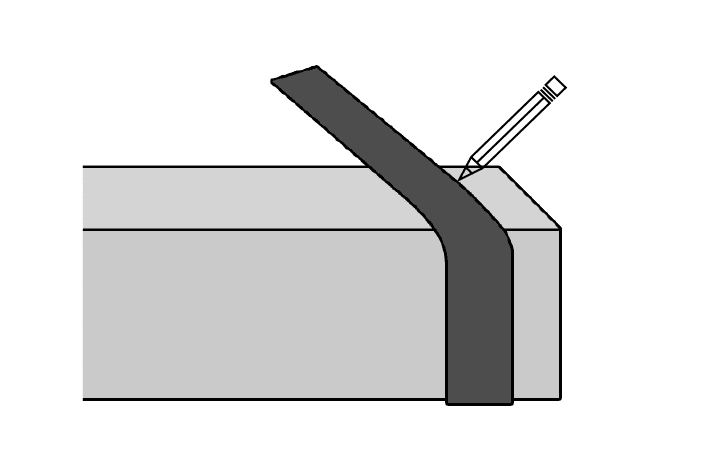
Lay the strap flat. Find the line on the back of the strap that indicates the center. Use a pencil to mark the center location on the edge of the strap.

Step 2
Dry Fit the Strap to the Beam
- Lay the strap along the beam.
- Align the v-grooves with the corners, making sure that the strap is square.
- Draw a light pencil line perpendicular to the center of the beam strap (as marked in Step 1).
- Wrap the strap around the rest of the beam. Mark and trim any protrusions.
- Repeat if using more than one strap per beam.
HINT: The manufacturing process can create slight variations in the outside dimensions of the beams. Be sure to measure and fit each strap to a specific beam.

Step 3
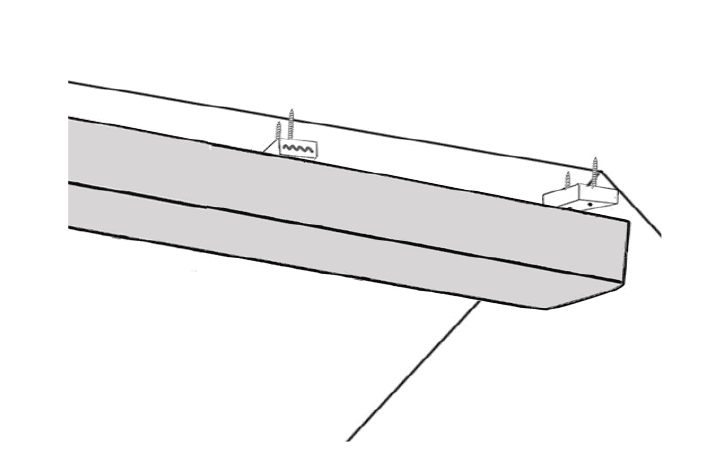
Install the Beam
Install the beam using the installation-appropriate instructions.

Step 4
Apply Adhesive
Apply a ¼” bead of adhesive to the back of the strap, avoiding the edges. Be sure to get some into the v-grooves.

Step 5
Install Strap
- Align the center of the strap to the marks made in Step 2.
- Press firmly on the strap working from the center up each side to ensure good contact between the adhesive and the beam.
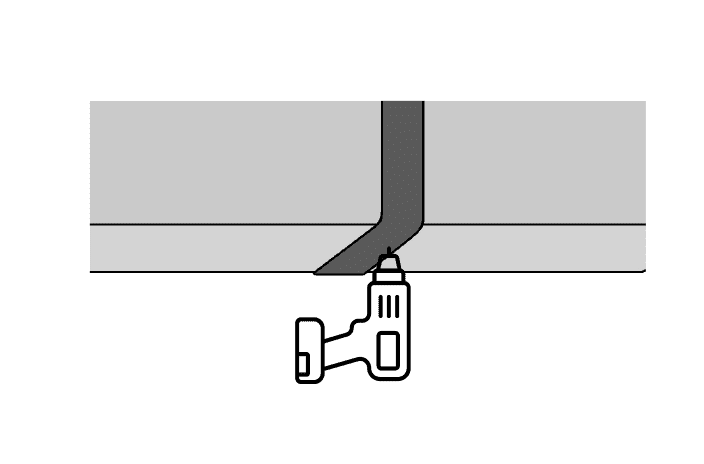
- Screw the strap to the beam starting at the bottom corners then screwing one side and the other.
- Wipe off any excess adhesive with a clean cloth.

Step 6
Touch-up
- Look at the strap from the ground. If the strap is not lying flat against the beam, install additional screws.
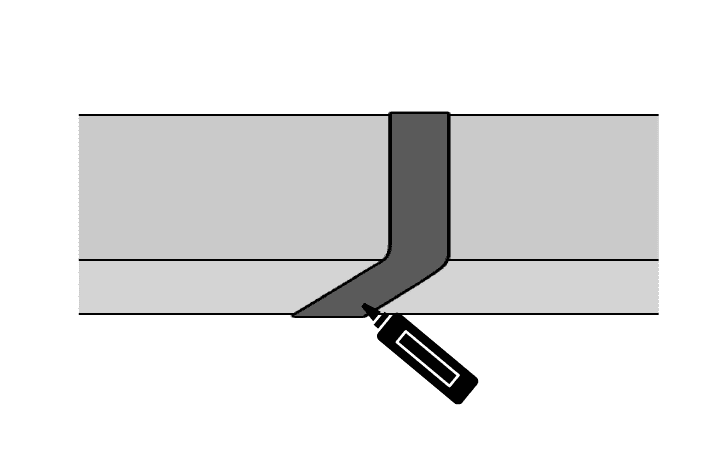
- If screw heads are visible, hide them using black caulk or permanent marker.