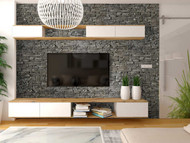
Everyone wants a home that’s comfortable, attractive and boasts personality. But if your home is full of bare walls and ceilings, the time, money, and skills required for those renovations can leave you feeling hesitant to embark on such a project.
Maybe you are dreaming of a complete interior overhaul, or you just want to create a single eye-catching focal point, in either case, wall paneling can be a cost-effective solution to breathe new life into your spaces!
Whether you have existing wall paneling that needs an update, or you’re just getting started, these six wall paneling ideas will inspire your next project!
6 Wall Paneling Makeover Ideas
Wall panels come in all shapes, sizes, styles, and colors. AZ Faux offers gorgeous, high-quality faux stone and brick panels and faux wood planks to add drama to any room’s design.
There are so many creative ways to use wall paneling in your home. Here are some of our favorite ideas to make your room look brand new without breaking the bank.
1. Choose Furniture That Compliments Your Wall Paneling
There’s nothing more charming than a rustic brick wall with an old-world look.
Using Rustic Faux Brick Wall Panels in Caramel Bluff, this wall is neutral enough to be a backdrop for modern-style furniture. At the same time, the furniture itself draws attention back to the accent wall with the shelving’s open back.
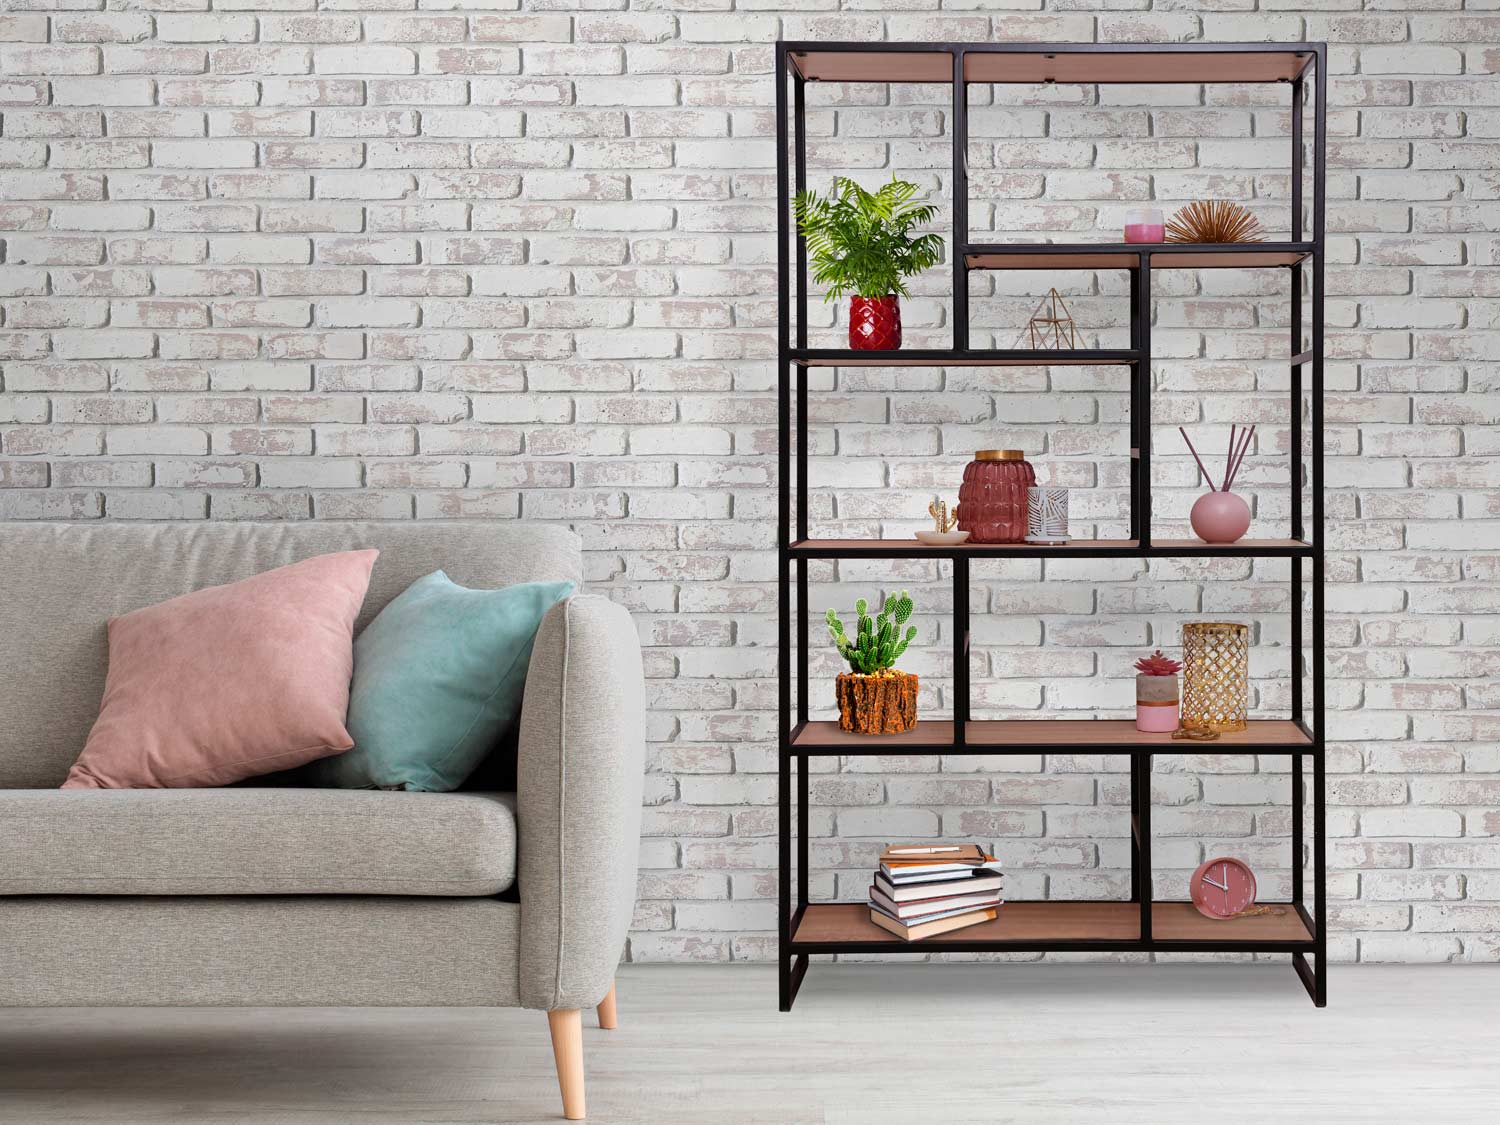 Rustic Faux Brick Wall Panels in Washed Brick
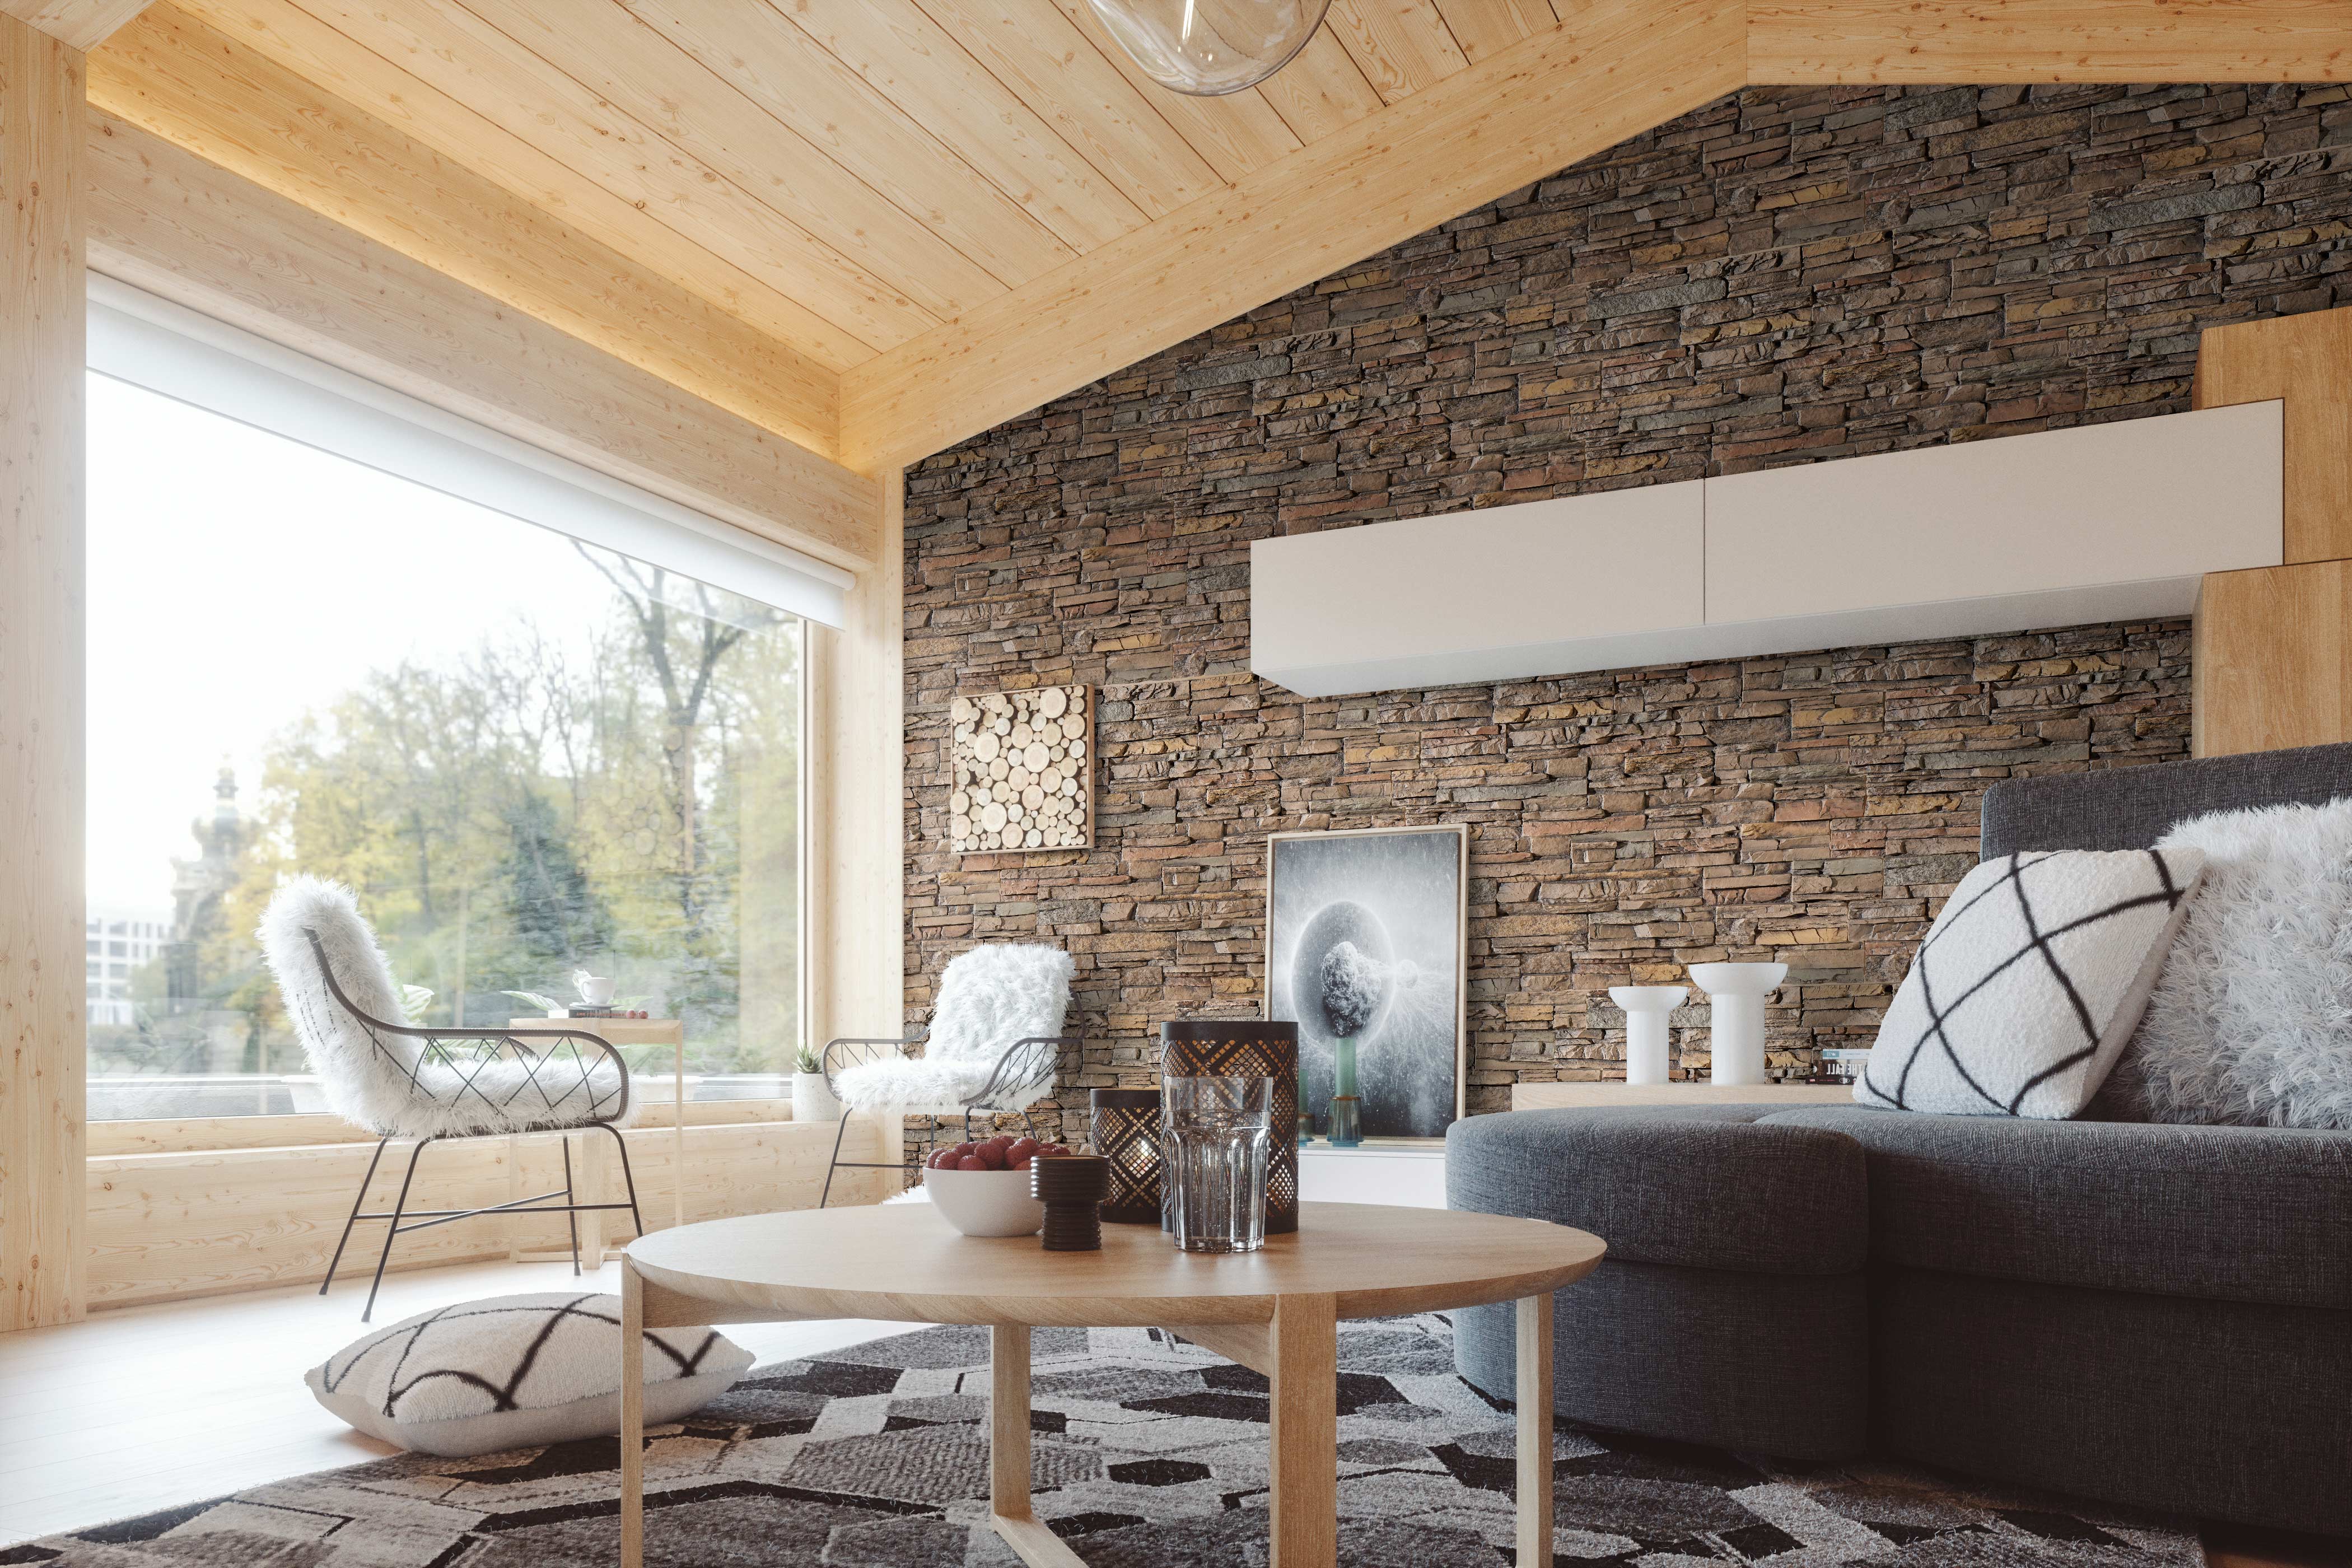 Denver Dry Stack Faux Stone Wall Panels in Terra Brown
2. Use Wall Paneling to Make a Large Room Feel More Intimate
This homeowner took advantage of the natural sunlight streaming in through the picture window by installing a faux stone wall right next to it!
The natural tones of the stacked stone and the intricate hand-painted detailing make for a more intimate vibe. Using Denver Dry Stack Faux Stone Panels in Terra Brown, this wall makeover idea is truly something to admire!
3. Transform an Ordinary Fireplace Into a Masterpiece
Faux wall panels are perfect for adding depth and dimension to a basic indoor or outdoor fireplace surround.
Here, Spencer Faux Stone Wall Panels in Frosted Stone adorn the walls of this floor-to-ceiling fireplace enclave off the side of the pool.
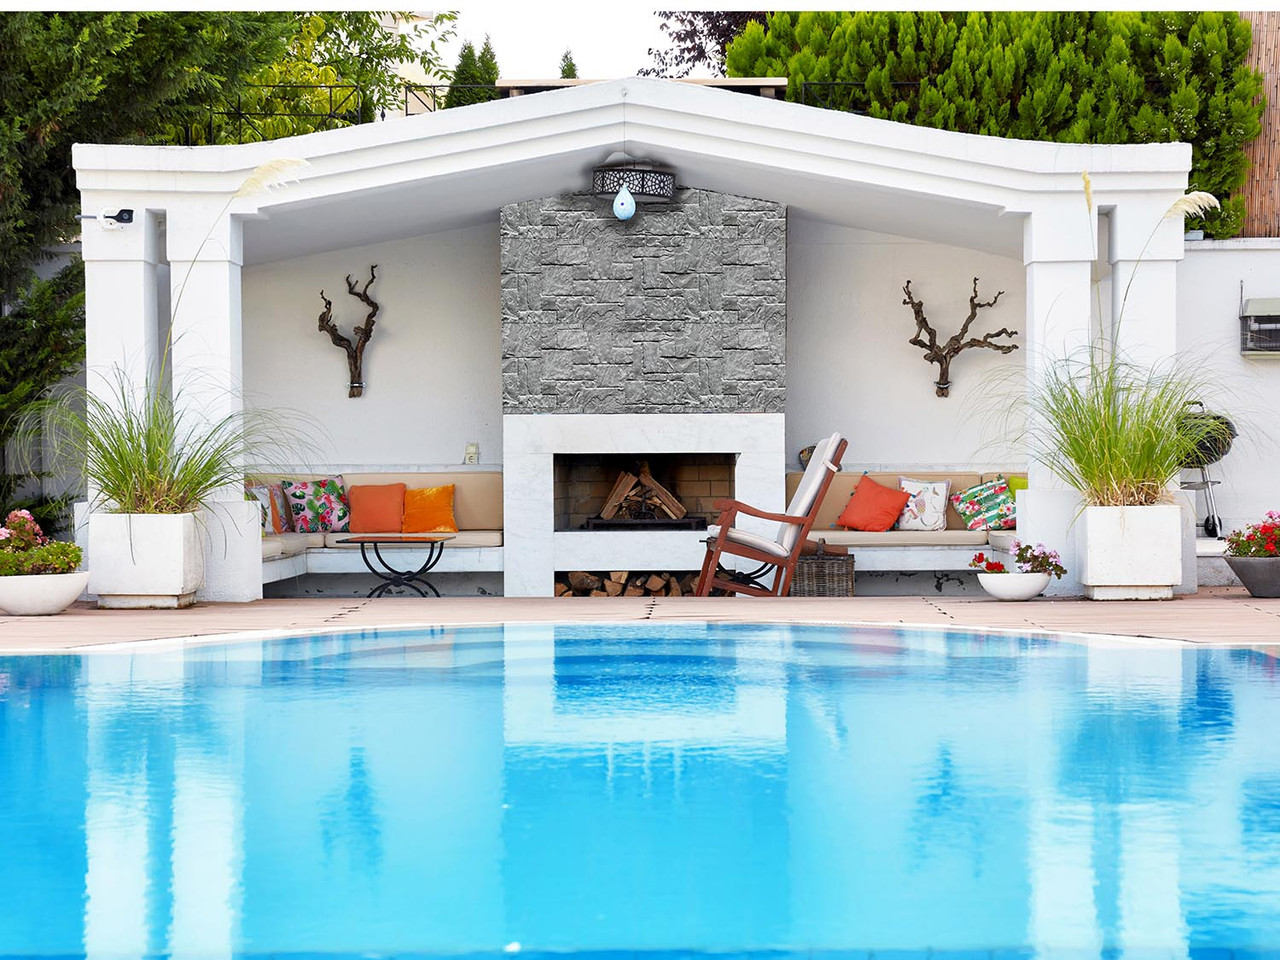 Spencer Faux Stone Wall Panels in Frosted Stone
 Sedona Dry Stack Faux Stone Wall Panels in Brown Earth
4. Use Neutral Paint Colors to Let Your Wall Paneling Stand Out
This homeowner painted their kitchen a steely gray tone that lets this unique faux stone accent wall shine!
The stone wall paneling also helps to visually separate the living space from the dining area.
If you plan to install wall panels around a corner, be sure to include the appropriate corner pieces in your order.
5. Swap Out Wallpaper And Paint Colors For Paneling
Skip the mess and tedious steps of “prime and paint,” and still enjoy a freshly made-up room!
This wall has an impressive new look using Denver Dry Stack Faux Stone Panels in Oxford Gray.
Paneling can also be used to improve the look of furniture like benches or built-in bookshelves.
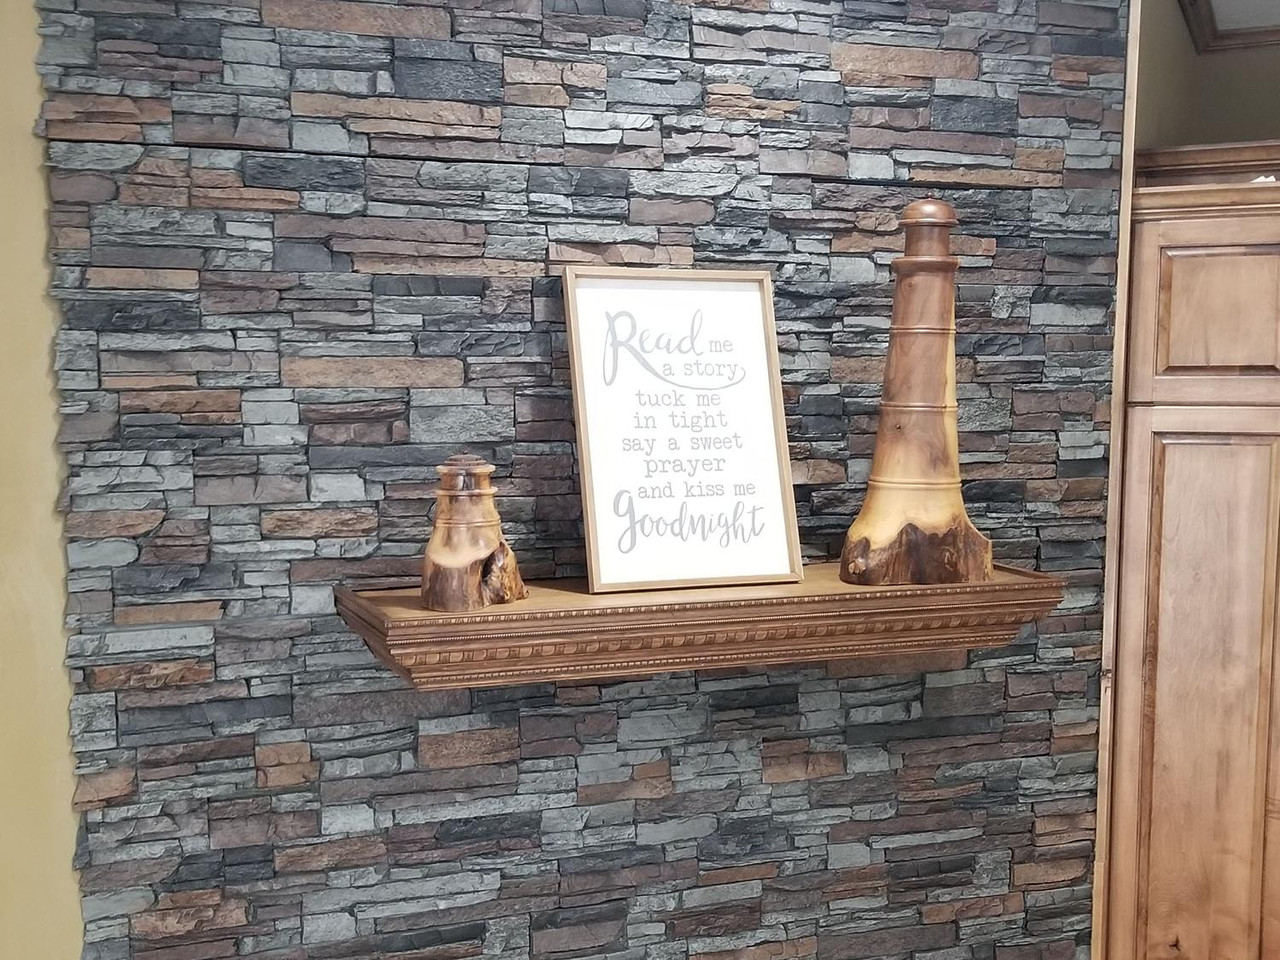 Denver Dry Stack Faux Stone Wall Panels in Oxford Gray
 Hewn Faux Wood Beams in Burnished
6. Use Beams Vertically to Define a Space
Faux wood beams can be used to distinguish certain areas of your home. Here, beams are mounted vertically on a wall to define a space.
This homeowner chose Hewn Faux Wood Beams in Burnished to emphasize the doorway that flows from this cozy reading nook into the next space.
Then, they painted wall paneling white for a crisp and subtle backdrop.
Can You Paint Wall Paneling?
Painting wood paneling and planks is an easy DIY process. Use paint or stain to update your existing wall paneling, or use it to get the look you want from our unfinished faux wood planks.
Our collection of faux wood planks is available in seven styles and up to ten authentic colors. If you prefer to paint them to achieve a different look, order them unfinished.
How to Paint Wall Paneling
Don’t be afraid of using paint. It will truly make you feel like you’re in a different room altogether!
For example, black paint or stain against white furniture creates a striking visual impact. On the other hand, white paint can give your wood wall panels a fresh, shiplap effect. Or, for a bolder look, pick a color that makes a statement, like blue, green, or red.
If you order our faux wood planks unfinished, they will arrive at your doorstep ready to be painted with water-based paint. Simply wipe any dirt or dust off the plank and apply your paint.
If you’re painting existing wood panels, below are some tips to help you achieve the perfect look.
- Clean your panels with a damp cloth to remove any dust or dirt
- If there are any holes or imperfections, use a putty knife and spackling to fill them
- Sand any sheen off of the surface
- Use painter's tape and drop cloths to protect your ceilings and floor
- Apply a coat of primer before rolling your paint color on
- After the first cost is dry, it is recommended to apply a second coat of paint
How to Remove Wall Panels
Interior design trends come and go. If you have wall paneling that doesn’t suit your tastes, removing it is a simple process.
- Remove the screws using a screwdriver or drill driver
- Pry the panels off the wall using the back of a hammer or pry bar
- Carefully remove the construction adhesive from the wall using a paint scraper
- Clean and prepare the wall for new panels
- Install your new panels
How to Install Wall Panels
Interested in doing your wall panel makeover yourself? Our faux stone and brick wall panels are designed to be DIY-friendly!
Below is a brief overview of wall panel installation. When you’re ready to install, follow our detailed step-by-step instructions.
How to Get Started
At least 24 hours before installation, store your panels flat in the location where you intend to install them. Keep them away from direct sunlight, heat sources, and moisture.
Then, be sure your installation surface is structurally sound and in good condition.
Next, determine your installation workflow. To do this, orient one of your panels so the flat lip on the long side (A) is up. If the fingers project to the left, installation will run left to right. If the fingers are on the right side of the panel, installation will go right to left.
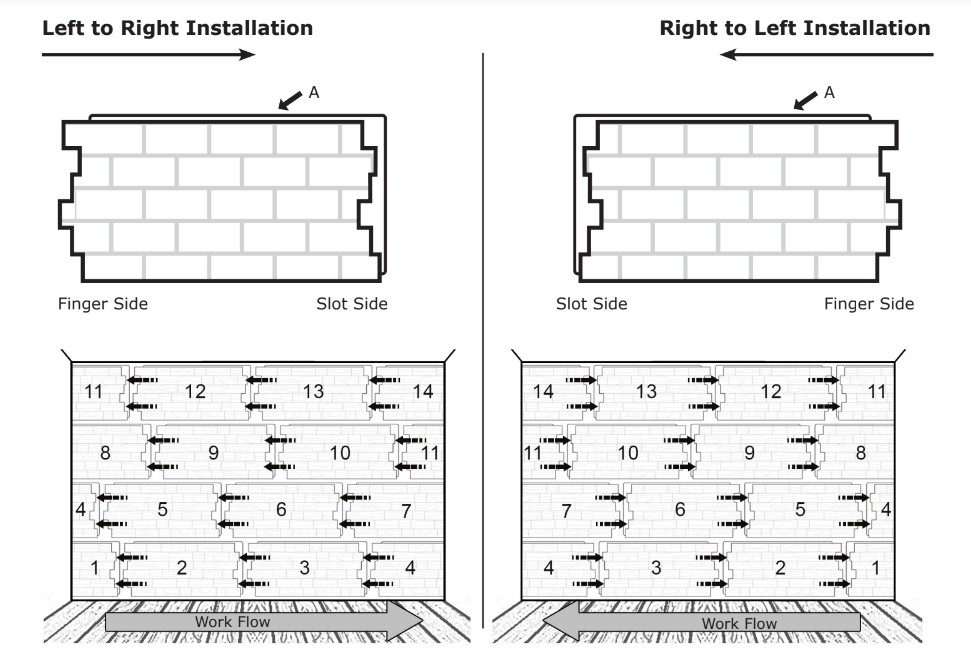
If you will be working around corners, determine the best approach for your project using our corner installation guide.
Gather Your Tools and Materials
- Caulk gun
- Chalk line/laser
- Clean cloth
- Color-coordinating textured caulk
- Cotton Swabs
- Level
- Loctite® PL® Premium® 3X Construction Adhesive
- Panels
- Pencil
- Safety glasses
- Small paint brushes
- T-Square
- Tack cloth
- Tape measure
- Touch-up kit
- Water
- Wood cutting saw with finish blade
Installation-Specific Tools and Materials:
There are two ways to install wall panels: using adhesive-only or adhesive and fasteners. If you’re installing over concrete, masonry, or metal, use the adhesive-only method. For all other surfaces, including drywall, use the adhesive and fastener method. Depending on which method you use, gather these additional materials.
Adhesive-only installation method:
- Disposable gloves
- Great Stuff Applicator Gun
- Great Stuff Pro Gun Cleaner
- Great Stuff Pro Construction Adhesive
Adhesive and fastener method:
- Deck screws
- Screw gun/Drill Driver
- Drill bit
Install Your Wall Panels
Once you’ve gathered your tools and materials, you’re ready to start installing. Installation is as easy as applying adhesive to your panels and adhering them to the wall. If you’re using the adhesive and fastener method, reinforce your panel using screws.
Note: Our detailed installation instructions show you exactly where to apply your adhesive and screws.
As you move from one panel to the next, be sure to butt your panels tightly together and keep them level with one another. Again, our detailed instructions show you how to draw a level line that will keep your project moving in a straight line.
During installation, add color-coordinating textured caulk where the face meets the panel as specified in the instructions.
After installation is complete, use your touch-up kit as needed. Use caulk to seal any mitered joints and to fill gaps or holes.
Benefits of Choosing High-Quality Wall Panels
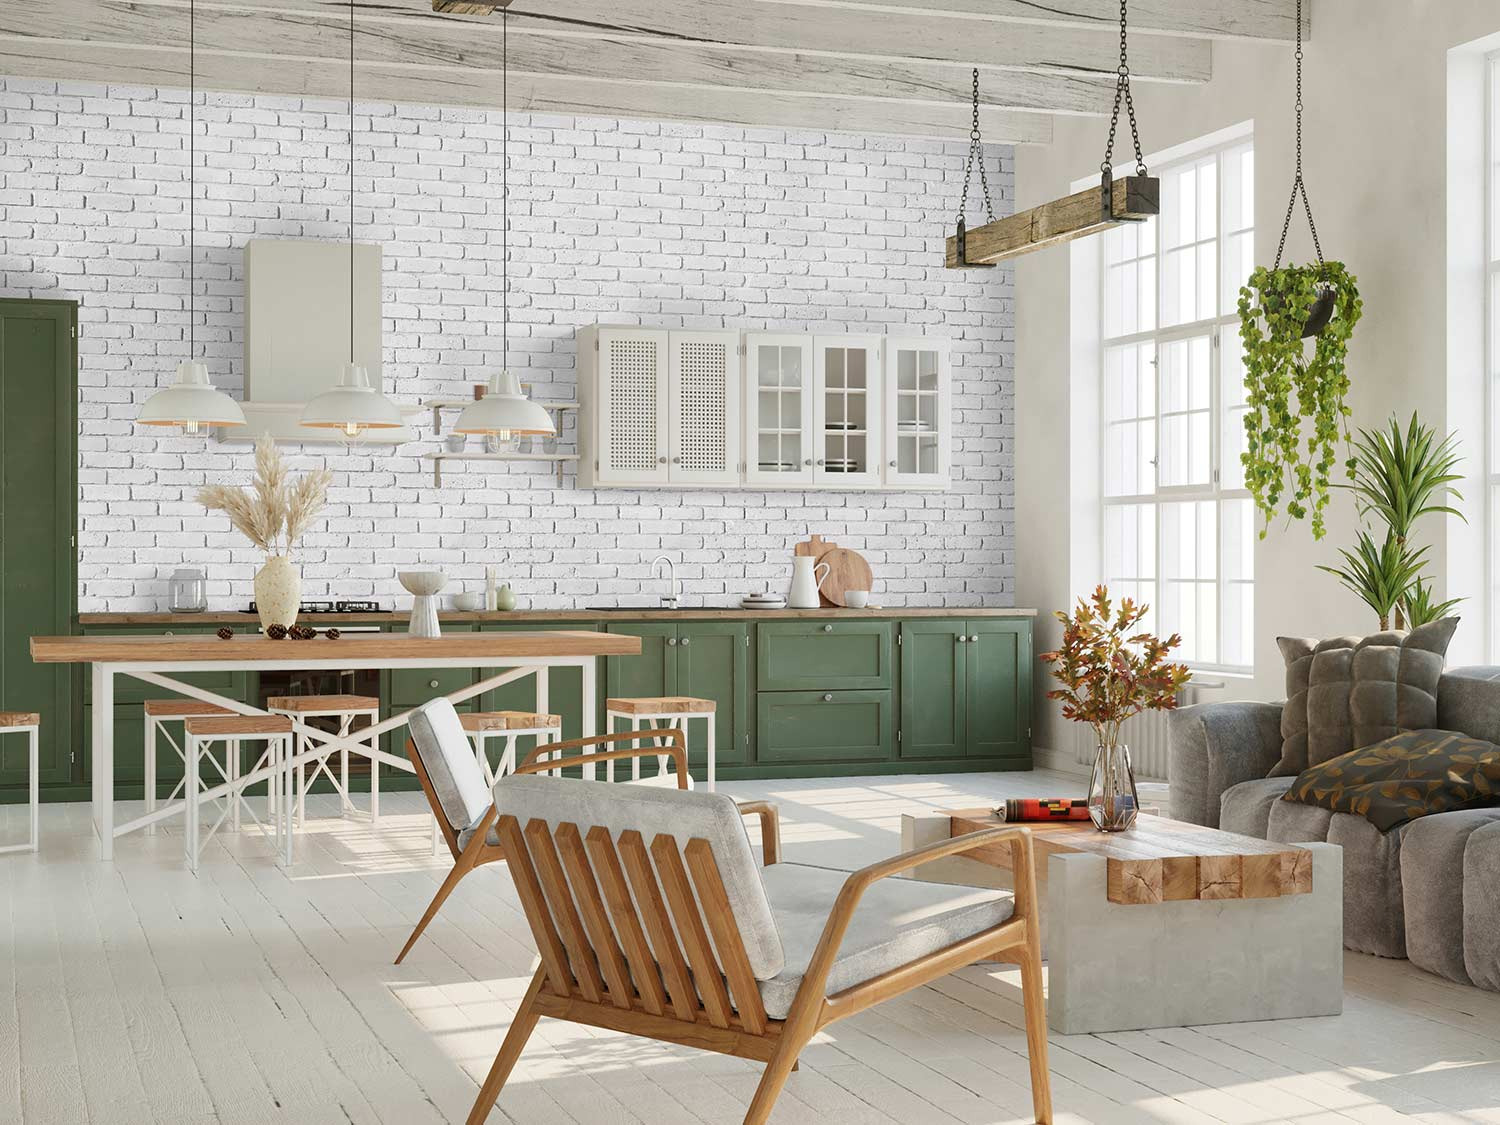 Old Medford Brick in Dove White
Wall panels are widely available across the internet and in home improvement stores. What makes them different is their quality.
A quality wall panel is:
- Durable and long-lasting
- Easy to maintain
- Easy to install
- More realistic
- Available in a wide variety of colors
While you shop, pay attention to customer reviews, what the panels are made of, and how easy they are to install. Hiring a professional to install your wall panels is an option, but this project approach can get expensive. A quality wall panel is easy to install. It allows you to finish the job at your own pace and helps you save money in the process.
At AZ Faux, all of our wall panels and planks are durable, long-lasting, easy to install, and affordable. Better yet, they look and feel just like real wood, brick, and stone.
Wall Panels That Transform Any Room in Your Home
AZ Faux offers faux stone, brick, and wood wall paneling you can install both inside and outside your home. Our wall panels are easier to care for than the real thing, and add character to your home with minimal time, stress, and investment.
Ready to make a change, update your home, or add some appeal to a bland room? Take a look at our wall panel options and see what works for you!